
Bathroom Renovation: Key Considerations Before You Start
Ensure a smooth bathroom remodel with expert tips to avoid common pitfalls.
DIYHOME UPGRADESBATHROOM
2/27/20254 min temps de lecture
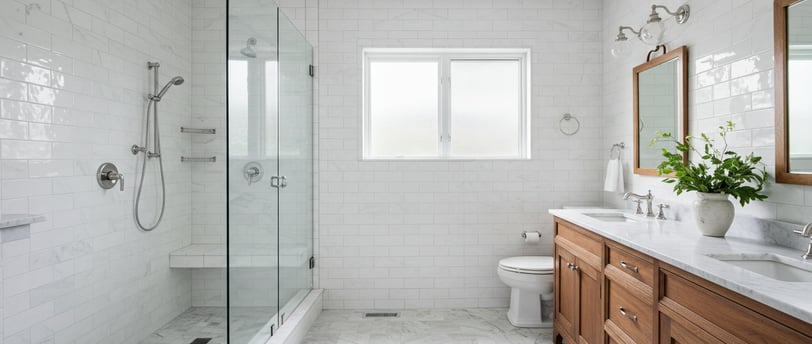
Renovating a bathroom can be both an exciting and challenging project. A well-planned renovation can increase your home's value and improve functionality, but without careful preparation, unexpected problems can arise. Here is an in-depth look at what you need to know before diving into your own renovation.
Initial Steps and Safety Precautions
Before beginning any bathroom demolition or remodeling work, it’s essential to take the proper safety precautions. This will help prevent accidents and ensure a smooth renovation process.
Turning Off the Water
The first and most critical step before beginning demolition is to turn off the water supply. This prevents accidental flooding or water damage when removing plumbing fixtures. Locate the shut-off valve under the sink, near the toilet, or in the basement and ensure it is completely closed. If your bathroom does not have a dedicated shut-off valve, you may need to turn off the main water supply for your entire home. After shutting off the water, open a faucet to release any remaining pressure in the pipes.
Electrical Safety Measures
Bathrooms contain several electrical connections for lights, outlets, fans, and other appliances. Before removing any fixtures, turn off the power at the circuit breaker to eliminate the risk of electrical shock. Be cautious when removing old light fixtures and wall plates, as exposed wires can pose a serious hazard. If you are unsure how to handle electrical wiring, consider consulting an electrician.
Removing Doors and Fixtures
To create space for the renovation, start by removing the bathroom door. This allows easier access to the room. Next, take out any free-standing fixtures, such as cabinets, towel racks, and mirrors. Disconnect plumbing connections before removing the sink and vanity to prevent leaks. If your vanity is secured to the wall with caulk or screws, use a utility knife and screwdriver to detach it carefully.
Demolition Process
Once the preliminary steps are complete, you can begin the actual demolition. Carefully dismantling the existing bathroom ensures that you can identify and address potential problems before proceeding with the renovation.
Removing the Vanity
Older vanities are often built directly into the structure of the bathroom. This means they are stick-framed in place and may require additional effort to remove. Using a crowbar or reciprocating saw can help dislodge stubborn pieces. Be mindful of nearby plumbing connections to avoid accidental damage.
Toilet Removal
Properly removing a toilet involves several steps:
Drain the Water: Use a sponge or shop vacuum to remove as much water as possible from the bowl and tank.
Disconnect the Water Supply: Shut off the water valve behind the toilet and disconnect the supply line.
Loosen the Bolts: Use a wrench to unscrew the bolts holding the toilet to the floor. If the nuts spin, use pliers to secure the thread.
Lift and Remove the Toilet: Carefully lift the toilet off the flange and place it on a tarp to prevent mess.
Inspect the Flange: The toilet flange should be level with the floor. If it is damaged or uneven, you may need to replace it before installing the new toilet.
Tub and Shower Removal
Taking out the bathtub and shower is one of the more challenging parts of a bathroom demolition.
Check for Water in the Pipes: Be prepared for leftover water to drain out when disconnecting plumbing.
Detach the Plumbing: Remove all plumbing connections to the tub, including the drain and overflow pipe.
Unscrew the Tub: Some tubs are secured to the studs with screws or nails. Carefully remove these fasteners before attempting to lift the tub.
Cut the Tub if Necessary: Large tubs can be difficult to maneuver out of a small bathroom. Cutting the tub into sections with a reciprocating saw can make removal easier.
Cap the Plumbing Lines: Once the tub is removed, deburr and cap the cut plumbing lines. Use ABS to PVC green glue, which does not require a primer, to secure the caps.
Identifying Hidden Issues
During demolition, it is common to discover underlying issues that were not visible before. Addressing these problems early can prevent costly repairs in the future.
Multiple Layers of Flooring
Older bathrooms may have several layers of flooring stacked on top of each other. This can make removal more difficult and affect the height of the new floor. Be sure to remove all unnecessary layers and check the condition of the subfloor.
Water Damage
Bathrooms are prone to water damage due to leaks and excess moisture. Look for signs of damage on the subfloor, walls, and joists. Soft or rotting wood indicates water exposure, which may require replacing affected sections.
Mold and Mildew
Mold growth is a common problem in bathrooms with poor ventilation. Check behind walls and under flooring for mold, particularly in areas with trapped moisture. Use appropriate mold control products to treat affected areas and prevent regrowth.
Improper Installations
Previous renovations may have included improper installations, such as incorrectly positioned tar paper or poorly sealed plumbing connections. Identify and correct these issues to ensure your new bathroom is built to code.
Plumbing Considerations
Updating plumbing during a bathroom renovation is an excellent opportunity to improve functionality and prevent future leaks.
Replace Old Taps: If your faucets are outdated, consider upgrading to modern, water-efficient models.
Cap Plumbing Lines: After cutting old pipes, securely cap them and turn the water supply back on to check for leaks.
Inspect Valves: Older shut-off valves may develop leaks over time. If necessary, replace them to prevent water damage.
Wall and Framing Adjustments
Renovation often involves modifying walls to accommodate new fixtures or improve structural integrity.
Wall Assembly: Pay attention to how walls are framed and remove drywall carefully to avoid unnecessary damage.
Electrical Boxes: Ensure electrical boxes are properly secured and not compressed against the drywall.
Install a Vapor Barrier: A vapor barrier should be installed on the warm side of the house to prevent moisture buildup within the walls.
Addressing Subfloor Damage
A solid subfloor is essential for a durable bathroom renovation.
Evaluate Water Damage: Inspect the subfloor for signs of rot or weakening.
Cut the Subfloor Carefully: If replacement is necessary, cut along the middle of the joists for proper support.
Treat Mold Issues: Use mold control products before installing new flooring.
Consider Adding Insulation: Adding insulation between the joists can improve soundproofing and temperature control.
Final Steps Before Installation
With demolition complete and all necessary repairs addressed, you can begin preparing for the new bathroom installation.
Lay New Plywood: A stable, level plywood subfloor is essential for tile or vinyl installation.
Choose a Shower Base: If installing a shower, consider a tile-ready shower base for easy customization and durability.
Conclusion
Renovating a bathroom requires careful planning, safety precautions, and a willingness to address unexpected issues. By following these key considerations, you can ensure a smoother renovation process and create a functional, long-lasting bathroom. Whether you are upgrading for style, efficiency, or home value, taking the time to prepare properly will help you achieve the best results.
Quantum Scope Inspections
La Santé de Votre Maison, Notre Priorité Absolue
Obtenez le Manuel du vendeur de maison, édition 2025
Maximisez votre investissement avec des réparations et de l'entretien, sur Amazon
© QuantumScope Inspections 2025 | Tous droits réservés | Politique de Confidentialité
Conception du site web par Creative Web Design Lab