
Soundproofing a Room
A DIY Guide to a Quieter Home Theater
DIYHOME THEATERHOME UPGRADES
3/2/20254 min read
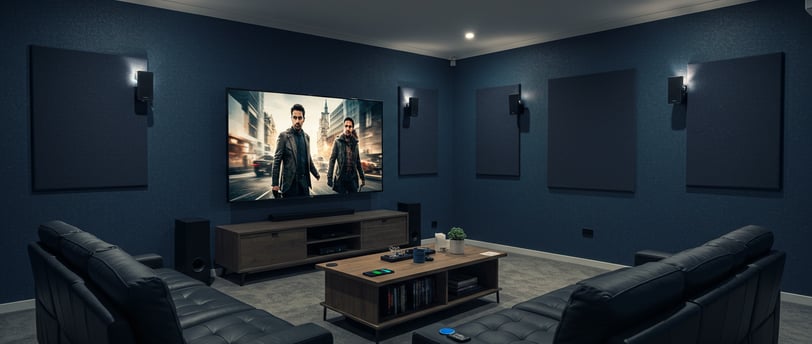
Turning a room into a soundproof home theater doesn’t have to be an overwhelming task. With careful planning, the right materials, and proper techniques, you can effectively reduce noise transfer and create an immersive, high-quality audio experience. Whether you're aiming to prevent outside noise from interrupting your movie nights or stop sound from escaping and disturbing others, the key to successful soundproofing is addressing the different ways sound travels.
Sound moves through the air and solid materials, so effective soundproofing requires sealing gaps, adding insulation, and using materials that absorb or block sound waves. This guide will walk you through every step, from preparation to final installation, ensuring you achieve the best results.
Initial Preparations: Stopping Air Transfer
Before starting with insulation and panel installation, the first step is sealing all potential air gaps. Sound waves travel easily through even the smallest openings, so eliminating air transfer is essential. One major weak point in most rooms is around electrical boxes and outlets.
Sealing Electrical Boxes
Electrical outlets, light switches, and other openings in the wall create gaps where sound can easily pass through. These small spaces might not seem like a big deal, but they significantly impact soundproofing effectiveness.
To prevent air leaks:
Use putty pads around metal electrical boxes to create an airtight seal. These pliable, soundproofing materials mold easily to the shape of the box and block noise from passing through.
If putty pads are unavailable, an alternative is using plastic electrical boxes combined with spray foam insulation. The foam expands to fill gaps, ensuring no air leaks remain.
For each electrical box, apply one pad, stretching it carefully to cover all sides, including wire protrusions. If you're working with double boxes, use two pads to cover the additional space effectively.
Insulation: Choosing the Right Material
Once air gaps are sealed, the next crucial step is installing insulation. The right insulation adds mass and absorbs sound waves, significantly reducing noise transmission.
Types of Insulation
There are several options for insulation, but not all are equally effective for soundproofing.
Mineral wool is a high-density material known for its excellent soundproofing properties. It’s commonly used in professional recording studios but can be costly.
Fiberglass insulation, particularly next-generation fiberglass, is nearly as effective as mineral wool but at about half the cost. It’s also easier to handle and less itchy than older versions of fiberglass insulation.
Wall Insulation
To maximize soundproofing effectiveness, install at least R20 or R14 fiberglass batts inside the walls. Unlike thermal insulation, where avoiding compression is important, soundproofing focuses on adding mass. Compression of fiberglass insulation does not negatively impact soundproofing—more mass actually helps reduce sound transmission.
Ceiling Insulation
For ceilings, a double layer of insulation is recommended to increase mass and improve sound absorption. Staggering the joints between the two layers prevents sound from traveling through continuous seams, further enhancing noise reduction.
Installing Green Board for Maximum Soundproofing
Green board, a type of moisture-resistant drywall, is an essential component of soundproofing. It helps block noise from traveling through walls and ceilings while providing a solid foundation for finishing materials. Proper installation is key to ensuring its effectiveness.
Strapping the Ceiling
Before installing the green board, attach strapping to the ceiling joists. This step helps secure the boards and makes it easier to locate joists when fastening panels.
Mark the location of the strapping on the walls to ensure precise placement of screws.
Using strapping also creates a decoupling effect, which means that sound vibrations won’t easily pass from one surface to another.
Installing Sauna Pan Green Board
For even better soundproofing, consider sauna pan insulation panels. These are designed to absorb sound and can be used in place of traditional drywall.
Some home improvement stores may not carry them, so you might need to request special orders.
Use a drywall lift to hold the board in place while securing it.
Attach each panel using approximately 12 screws. The fewer fasteners you use, the better, since metal screws can transmit sound.
Sealing Gaps and Joints
After installing the green board, any small gaps between panels must be sealed to prevent sound leaks.
Apply a thick bead of acoustical sealant (black goop) along every seam.
For larger gaps, use expansion foam, applying it carefully to avoid excessive use.
Ensure full coverage between walls and ceilings to create a continuous soundproof barrier.
Electrical Considerations: Wiring and Lighting
After securing the green board, electrical wiring for lights and outlets must be handled carefully to maintain soundproofing integrity.
Running Wires for Lights
If pot lights or recessed lighting are part of your design, traditional installation methods can compromise soundproofing. To work around this:
Add another layer of 2x3 strapping before installing lighting. This extra layer creates a space for wiring without cutting into the green board.
Ensure that all wires remain on one side of the soundproofing barrier, maintaining the integrity of the system.
Ensuring Full Continuity
The key to effective soundproofing is ensuring that the green board remains continuous across all surfaces.
The walls and ceiling should be completely sealed, with no direct contact with other materials.
Use acoustical sealant or spray foam to eliminate air leaks and maintain a seamless surface.
Addressing Specific Areas: Windows, Doors, and Utilities
Even with well-insulated walls and ceilings, other areas in the room can create sound leaks.
Exterior Walls and Windows
Exterior walls require careful insulation to prevent cold air and condensation, which can lead to mold and rot over time.
Extend the green board up against the concrete foundation to create a thermal bridge. This prevents direct contact between drywall and masonry, reducing noise transmission.
Ductwork and Plumbing
When working around heat ducts, cut openings slightly larger than necessary to allow space for adjustments.
Use a crimper tool to reduce the diameter of pipes when necessary.
For plumbing, create an access trap door by cutting a removable panel in the green board. Ensure it has a tight seal to prevent noise leaks.
Final Steps: Drywall Installation and Finishing
With all insulation, sealing, and electrical work complete, it’s time to install the final layer of drywall.
Hanging Drywall
Use 2.5-inch drywall screws to secure the panels.
A drywall cutout tool helps create precise openings for outlets and fixtures.
Apply a final layer of acoustical sealant over all seams before adding paint or finishes.
Maintaining Soundproofing Integrity
The most effective soundproofing requires strict attention to detail. Cutting corners or skipping steps can result in unwanted sound leaks. Sacrifices may be necessary—such as slightly adjusting room aesthetics—to prioritize soundproofing effectiveness.
By following these steps and maintaining a high level of integrity, you can successfully soundproof a room and enjoy a home theater experience free from outside distractions. With the right materials and techniques, even a DIY project can produce professional-grade results!
Quantum Scope Inspections
Your Home’s Health, Our Top Priority
get the Home Seller's Handbook, 2025 Edition
Maximize your investment with repairs and maintenance, on Amazon.
© Quantum Scope Inspections 2025 | All Rights Reserved | Privacy Policy
Website Design by Creative Web Design Lab